
Roofing felts generally protect the roof from moisture penetration. However, with time, the felts can wear out, be damaged, and much more.
To protect the roof from leakage, you must repair the roofing felt under tiles. Hence, you might wonder about how to repair roofing felt under tiles.
Repairing roofing felt under tiles is somewhat tricky. However, if you know the proper method, the repair will become quite easy for you. In most cases, you have to replace the roofing felt.
Let us help you understand the procedure. We will explain step by step so that you can easily follow along.
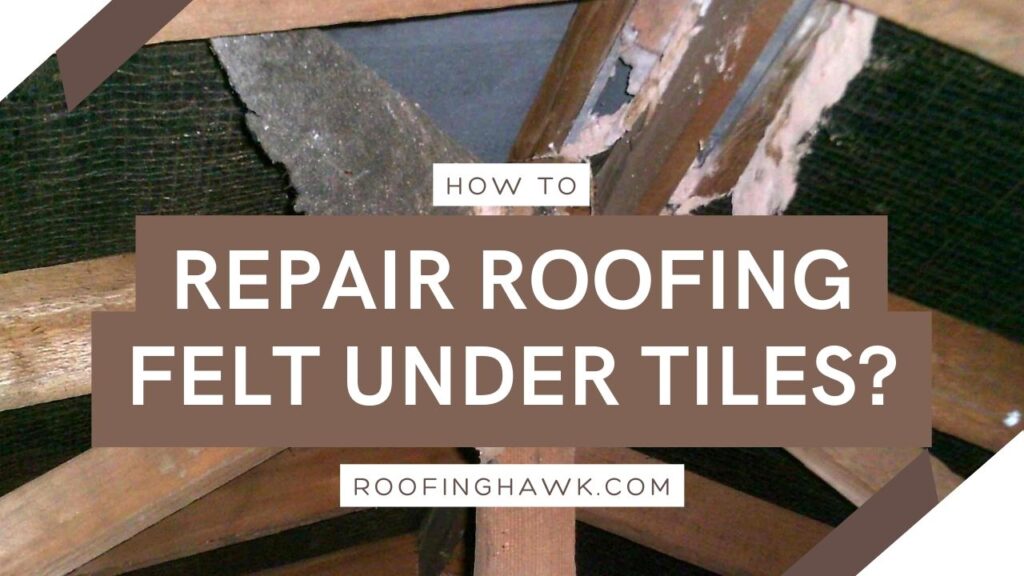
How To Repair Roofing Felt Under Tiles
To repair roofing felt under tiles, you will need to collect some tools and materials first. After that, you have to follow the procedure stepwise.
Necessary Tools and Materials
- Hammer tracker
- Staples
- Ladder
- Pry bar
- Utility Knife
- Putty Knife
- Measuring Tape
- Hammer
- Nails
Step By Step Procedure
Step 1: Ensure Your Safety
The first step you should go through is ensuring your safety. You should always get a good ladder. Additionally, wearing proper boots with enough traction is important. This will reduce the risk of your injury by a lot.
Step 2: Breaking the Tar Seal
Firstly, you have to remove the shingles above the damaged roofing felt. You should start with the row above the one you need to remove. For that, take a pry bar.
You should be cautious while using the pry bar. Gently push the shingles upwards. Hence, you should push the shingles in such a way that the tar seal breaks but the shingles remain intact.
You should lift the shingles until you find the nails underneath them. Be sure to not bend the shingles too far. If you do that, you may end up breaking the brittle shingles.
Step 3: Removing the Shingles
Once you have confirmed that the tar seal is broken, proceed on to the next step. Insert the pry bar underneath the shingle you want to remove.
When you are close to the nail, move the nail along with the shingles about an inch upwards. After that, take out the pry bar. Then, place the pry bar above the shingle.
The pry bar should also be close to the nail. Following that, push the pry bar down on the shingle. You should push it until the nail pops out.
Finally, pull out the nail completely using the pry bar. You just have to repeat this process for all of the remaining shingles.
After you have removed all the nails, take the shingles out one by one. You should take out the shingles surrounding the damaged roofing felt.
Step 4: Discarding the Roofing Felt
For this step, You should start by taking a utility knife. Using the utility knife, cut the roofing felt around the damaged area. Then, discard the roofing felt after removing it.
Step 5: Removing the Debris
After completion of the previous step, remove all of the dust, debris, and nails from the roof. If you notice the wood sheath rotten at any place, you are better off hiring a professional for repair.
To have ease of work, you can use a putty knife. Run the putty knife over the exposed area. This process will remove all the roofing nails, dirt, and debris.
Step 6: Measurement of Replacement Area
In this step, you need to take a measuring tape. After that, measure the area you have to replace. But, be sure to keep around 4-6 inches extra on all four sides. The reason for the addition of extra inches is overlapping.
Step 7: Cutting the new Roofing Felt
Using the utility knife, you should cut the new roofing felt. Make sure to cut the roofing felt according to the measurements you have taken before.
Step 8: Placing the Replacement Felt
In this step, you should place the new roofing felt. Place them above the exposed area of your roof. Then, secure the roofing felt with some staples and a hammer tracker.
You should start by stapling a row along the middle of the replacement felt. Always be sure to remove the formation of any wrinkles by smoothening these out. If any wrinkles are left, it can lead to problems later on.
The top and the bottom section of the roofing felts of subsequent rows should overlap with each other. In that way, the water leakage will be prevented.
Also, you need to make sure that the wood sheath is dried properly. Mounting the roofing felt over wet wood sheath will cause problems down the line.
Step 9: Reinstalling the Shingles
You should reinstall the shingles after you have completed all the previous steps. Also, You should not forget to secure the shingles with nails and a hammer.
You need to check whether the nails have penetrated the roofing felt and wooden sheath or not. The nails must penetrate the felt and wooden sheath.
Frequently Asked Questions
1. Is it possible to repair a broken roof felt?
Ans: Although it is recommended to replace the broken felt, sometimes you can repair the broken roofing felt. However, you will need someone experienced enough to carry out the job. Also, repairing a broken felt is a temporary measure. You have to replace the roofing felt down the line.
2. Can the roof felt be repaired from the inside?
Ans: Depending on the amount of damage you have to your felt, you may be able to patch from the inside with felt and felt adhesive.
3. How do your stick down felt?
Ans: Tacky glue is the best adhesive for felt to wood; another alternative is permanent glue like super glue or spray glue.
Verdict
Hopefully, you now understand how to repair roofing felt under tiles. It is important to repair your damaged roofing felt. However, keep in mind that your safety is equally important.
You should repair your roofing felt only if you are confident about it. If you even have a small amount of doubt, you should hire professionals.
It is important to realize the processes we have mentioned above. If you get the gist of it, you can surely repair the roofing felt by yourself.


