
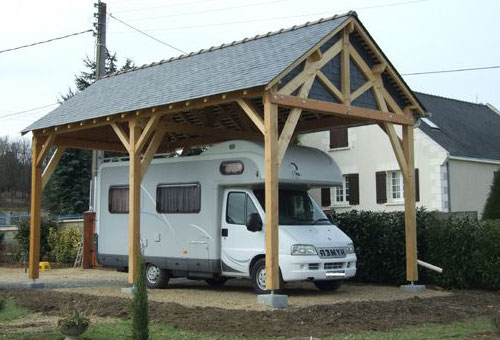
Making a pole barn roof over a mobile home is pretty common nowadays. They work pretty well and are also a fairly affordable idea. It makes your mobile home much cooler, increases the life of your trailer and when you are up to sell your home, it creates an extra price value to it.
When the roof gets old and starts to leak at some point, it’s an easy choice to repair the old roof by just building a pole barn roof over the old one. In many places, it doesn’t even require any permission or inspection as it is not actually attached to the structure.
so, let’s learn about how to build a pole barn roof over a mobile home.
How To Build A Pole Barn Roof Over A Mobile Home: A Complete Guideline
To build a pole barn roof over a mobile home, you have to go through several steps. But, first of all, let’s know the options that you can go through.
Foundation options to build a pole barn
- Permacolumn wet set sturdy wall bracket
- Permacolum concrete post
- Treated post with post protector sleeve
- Treated wood posts set on top of the concrete preformed path
After choosing a suitable foundation, you can move on further to build your pole barn over a mobile home.
Materials Needed:
- Concrete for the foundation
- Wood trusses
- Treated eave posts
- Treated gable posts
- Poles made of pressure-treated lumber. Round poles, square posts or utility poles, you can use any of them
- Lumber for framing and roof trusses
- Girts (horizontal nailing boards which are nailed to the posts; siding is anchored towards the grits)
- 2-by-4s for the frames and purlins (boards that are nailed across the top of the trusses and are used to attach the roofing)
- 2-by-6s for roof stringers (boards that are placed horizontally at the top edge of the poles, supporting the roof and the trusses)
- Straight and screw-in roofing nails
- tractor-powered auger for digging,
- Hammer
- Electric drill
- Carpenter’s level, a string level, and line
- Saw (hand saw, miter saw/ circular saw, bevel square set)
Building process
Step One:
First up you can use Sketchup software to build a 3D model of your pole barn. This software has both paid and unpaid versions. The paid version has some extra features but the unpaid version is fairly enough to make a 3D model and to visualize the project.
Step Two:
Next up, you will have to dig to build the foundation of the pole barn, by using a suitable method (mentioned above). Make sure you clean the place after digging. That will save you a lot of time and will make the work easy.
Step Three:
Set your trusses between 2 feet distance. Space the post holes carefully. Mark the center of each hole using stakes. Ensure that the structure’s corners are square exactly 90 degrees. Dig the post holes to a depth appropriate to the type of soil.
Step Four:
Set the stringers at the tops of the poles, check them with a carpenter’s level. Putting up the first truss may require several people, ropes, poles, braces, or a backhoe. It will be beneficial if you ask for some help. Additional trusses can be set by braced against the ones that are already there. Install the purlins across the length of the trusses.
Verdict
Hopefully, by following the guide you will be able to successfully make your mobile home much cooler and safer than before.
Good luck to your building process!


